
VMware Fusion 安装 Ubuntu 24.04 LTS (mac)
下载镜像
- 由于我的mbp的CPU是Intel, 所以下载的镜像选择了amd64. 若是m芯片,则选择arm64
- 下载地址: https://mirrors.hust.edu.cn/ubuntu-releases/24.04.2/

创建虚拟机
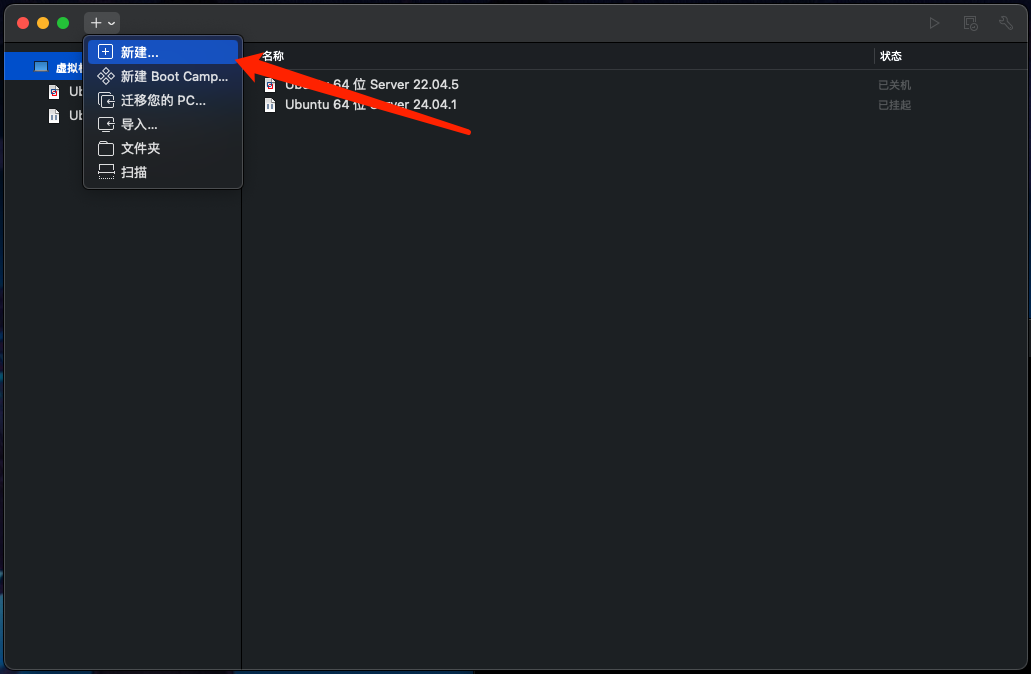
- 点击新建...
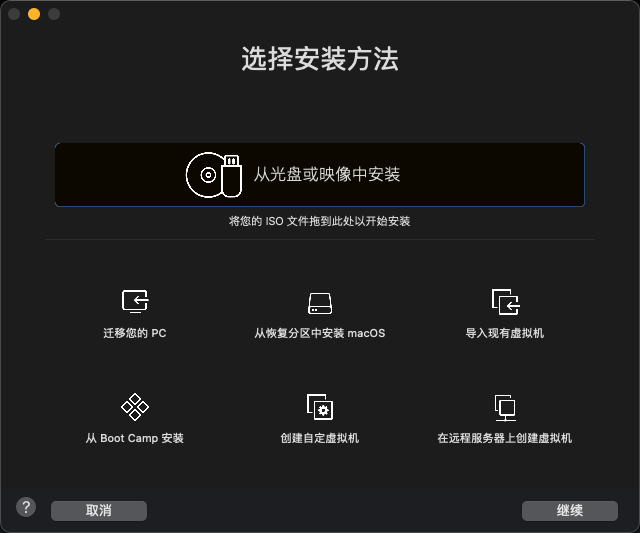
2.将ios镜像拖入框框...

- 继续-> 点击自定设置,设置虚拟机文件名->存储
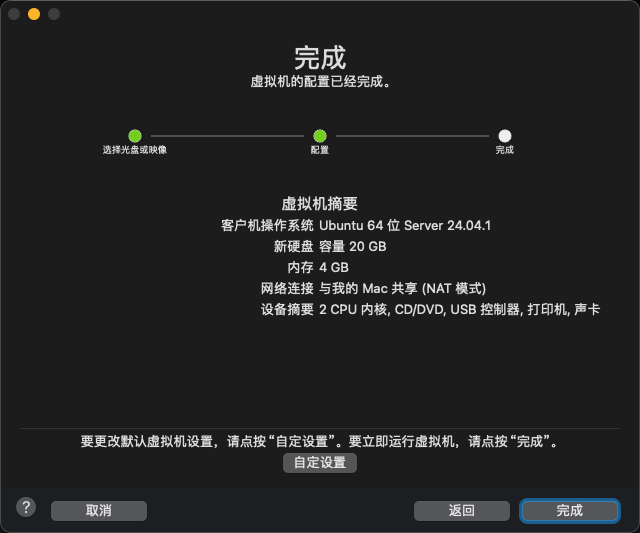

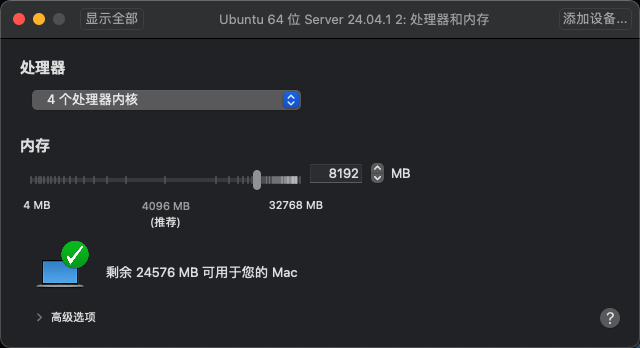
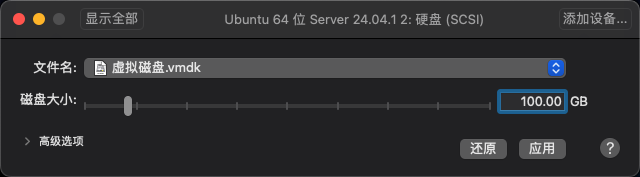
- 这时候不要着急启动,在弹窗的页面,配置硬盘、CPU、内存
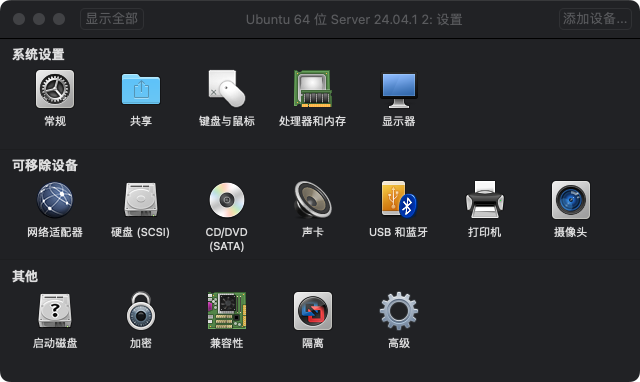
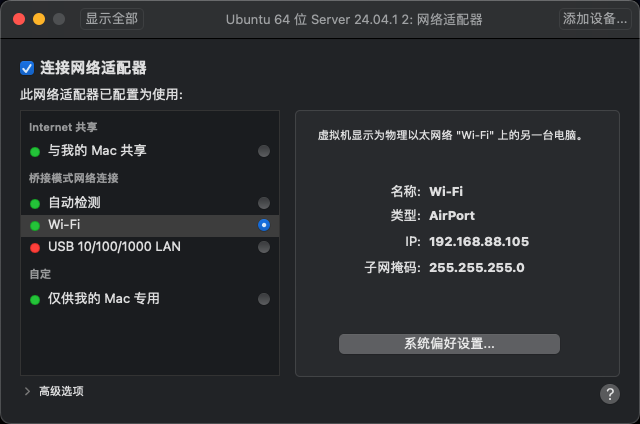
如果当前机器使用,则用默认就好了。我这里希望把这台虚拟机当成独立的机器使用,所以选择额Wi-Fi或USB 10/100/1000 LAN作为NAT网络使用
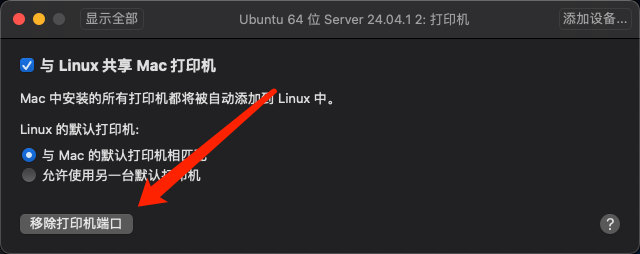
不需要的话,删除打印机、USB控制器。后面日常使用中,可以减少很多弹窗

- 都配置好以后,就可以启动虚拟机了

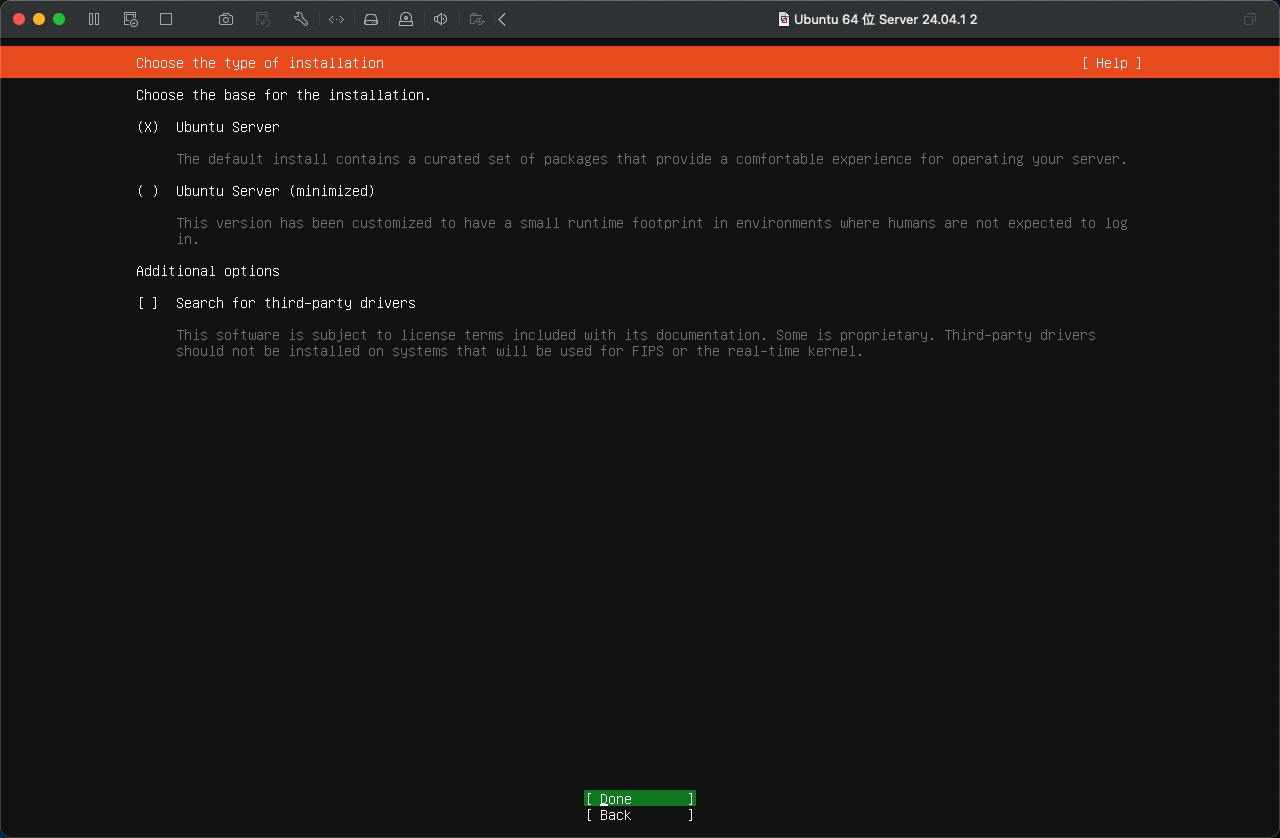
安装Ubuntu
没有特殊提及的话,按确认键下一步就好了
选择Continue without updating(默认选中)

如果要固定ip访问,在这一步可以直接操作,我这里就使用动态IP了
动态IP也可以在安装完之后改固定IP,最后会提供
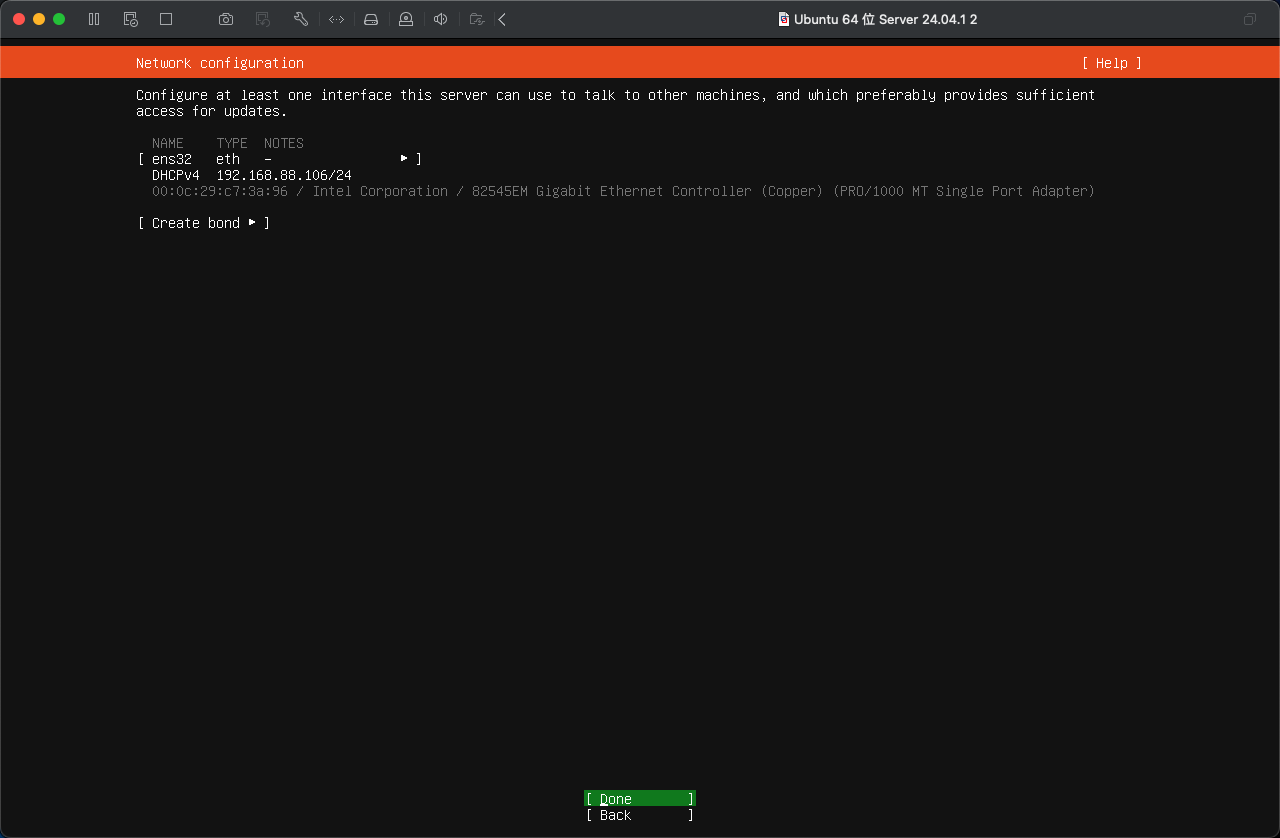
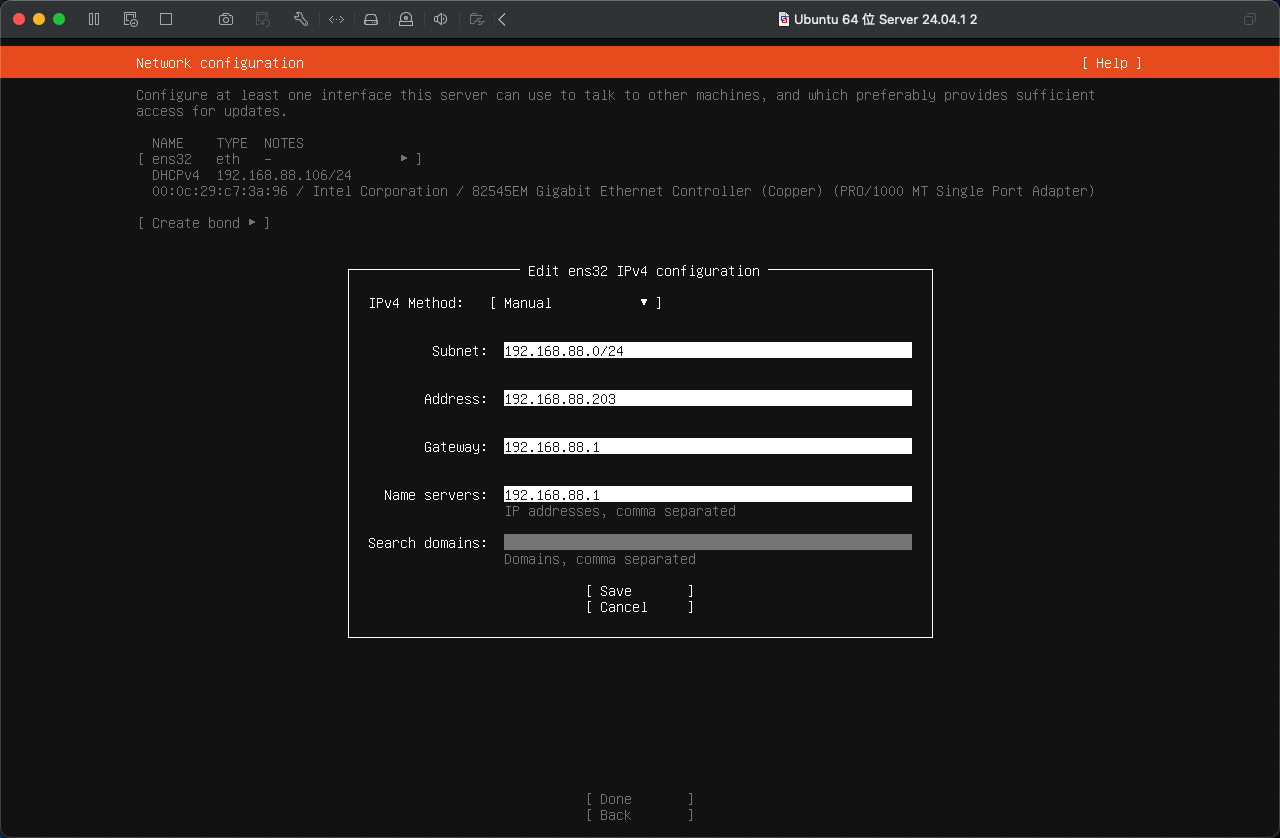
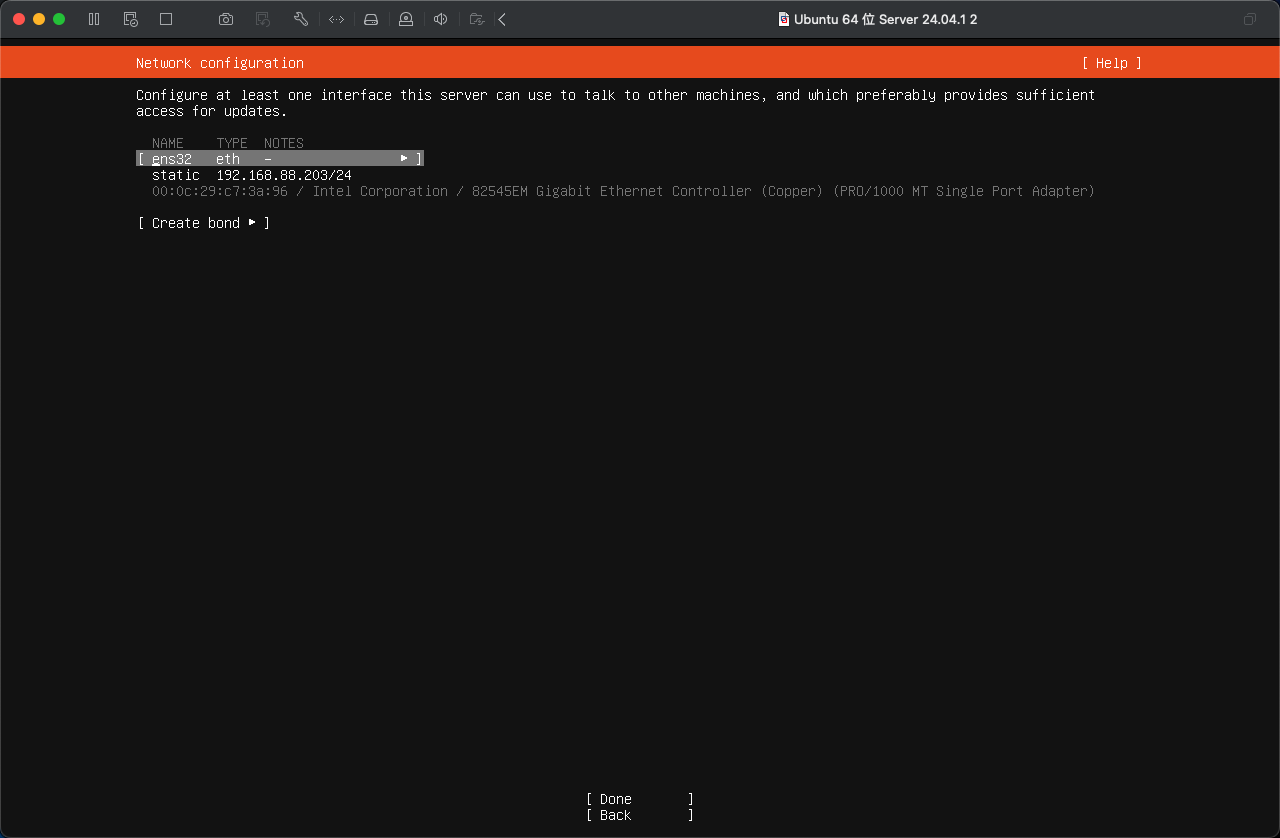
下面两图供固定IP参考(建议)
如果要使用代理上传 (可选),这里可以直接配置, 一般不需要直接下一步就好了

这一步改一下源,不然后面安装要等太久了
- 阿里源: https://mirrors.aliyun.com/ubuntu
- 华为源:https://mirrors.huaweicloud.com/ubuntu
- 清华源:https://mirrors.tuna.tsinghua.edu.cn/ubuntu
- 中科大源:https://mirrors.ustc.edu.cn/ubuntu
- 网易163源:http://mirrors.1com/ubuntu
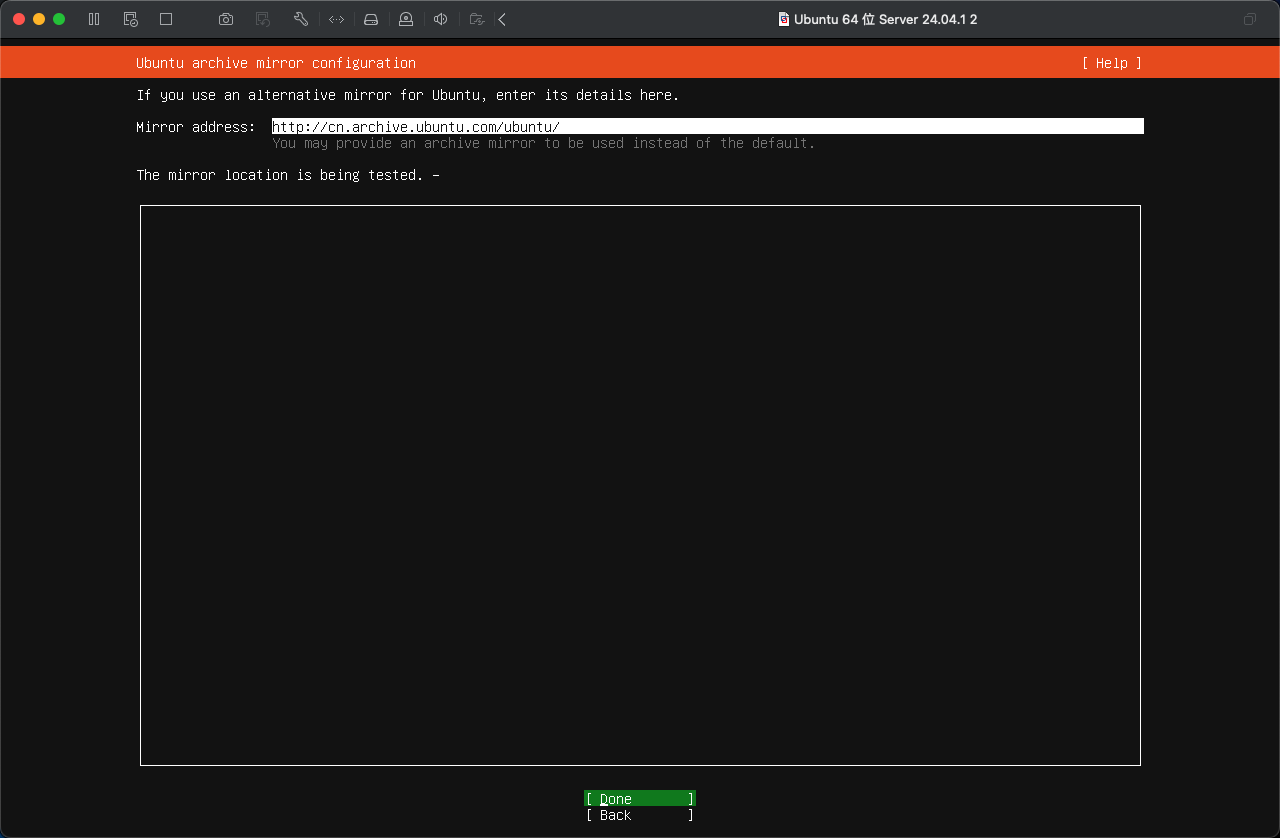
这里镜像如果是清华下载的,默认的http://cn.archive.ubuntu.com/ubuntu就是清华源了,直接下一步就好了
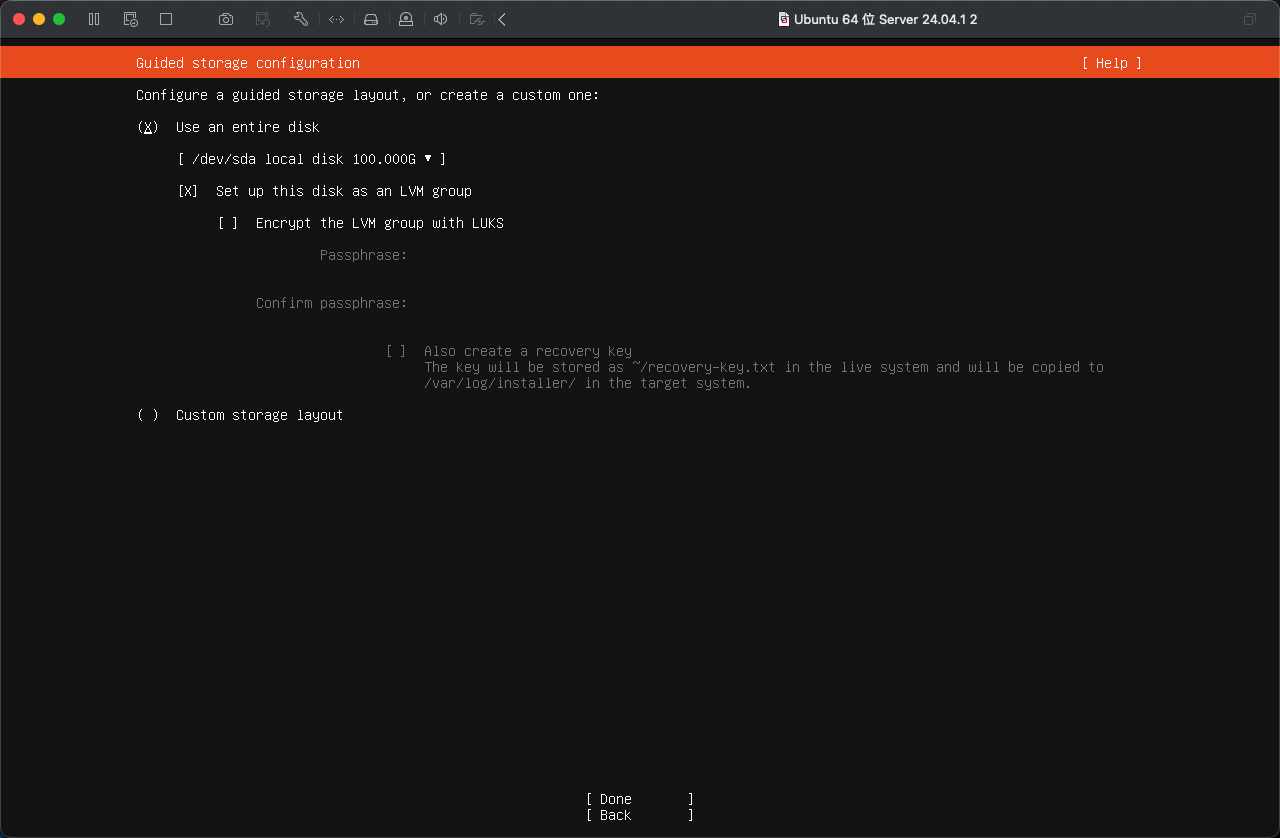
配置硬盘,没有特殊要求,默认选整个硬盘。直接下一步就好了哈
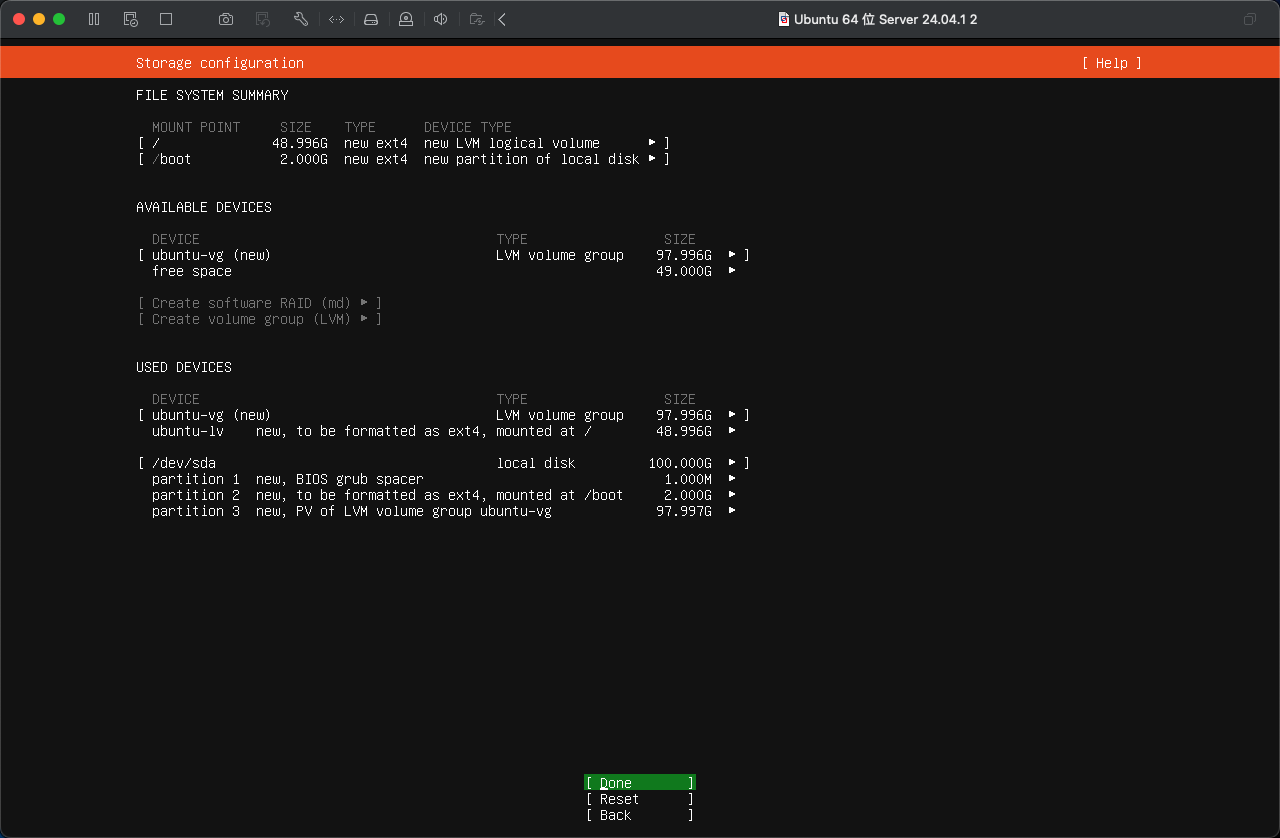
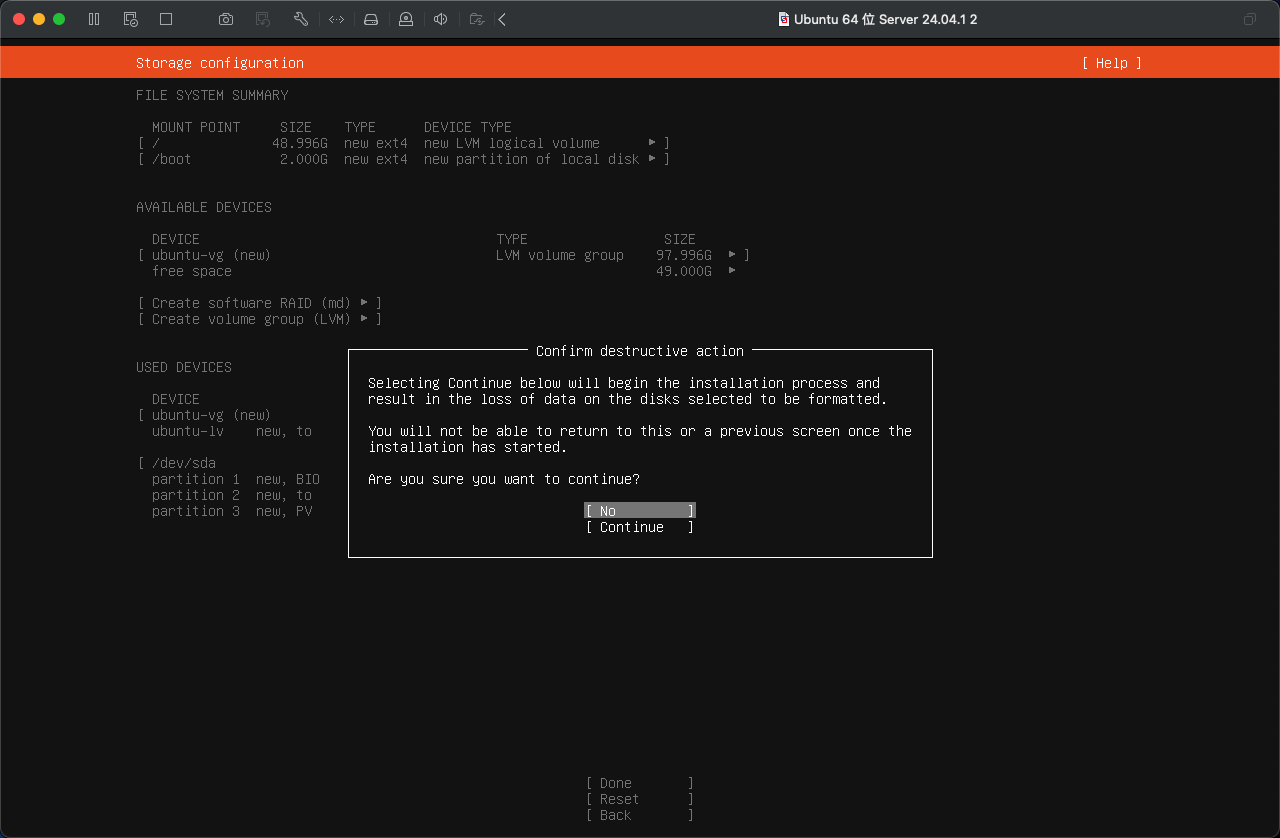
这里手动选一下Continue
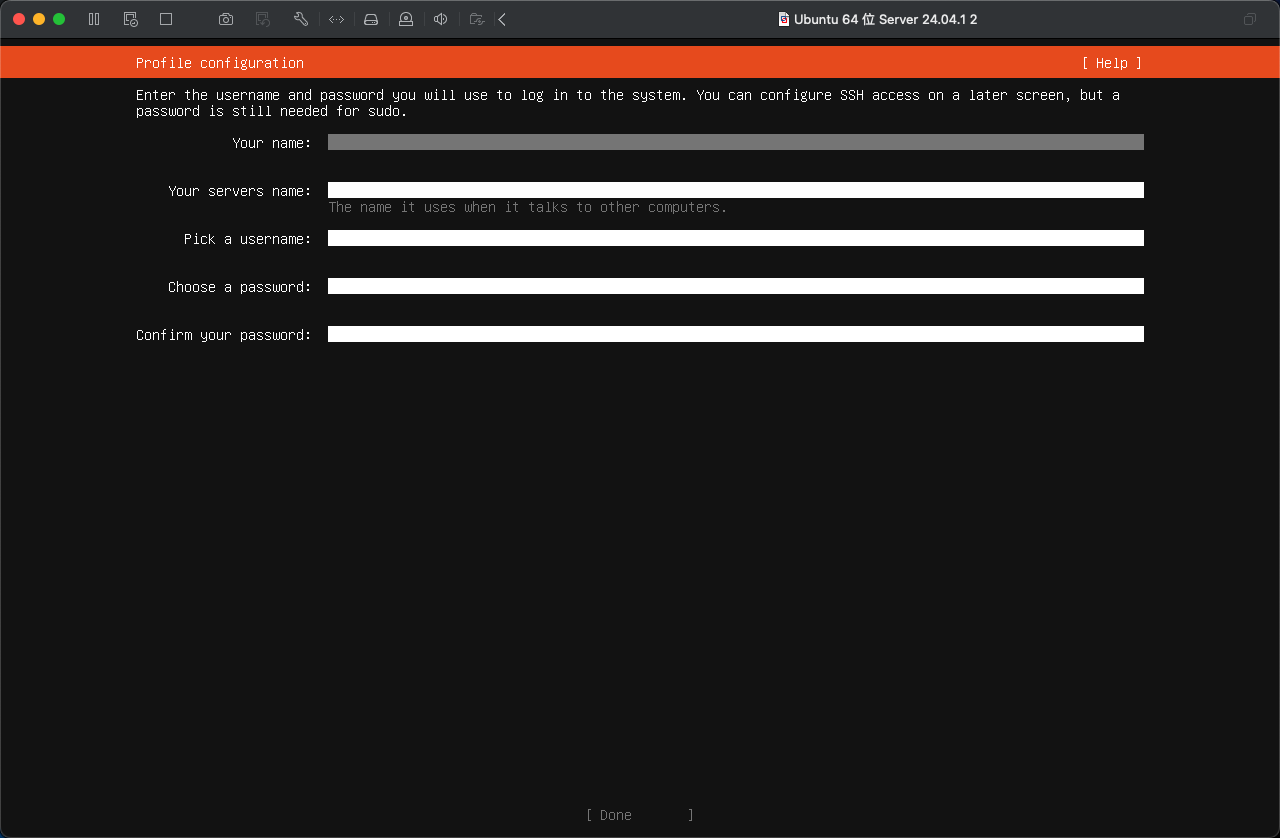
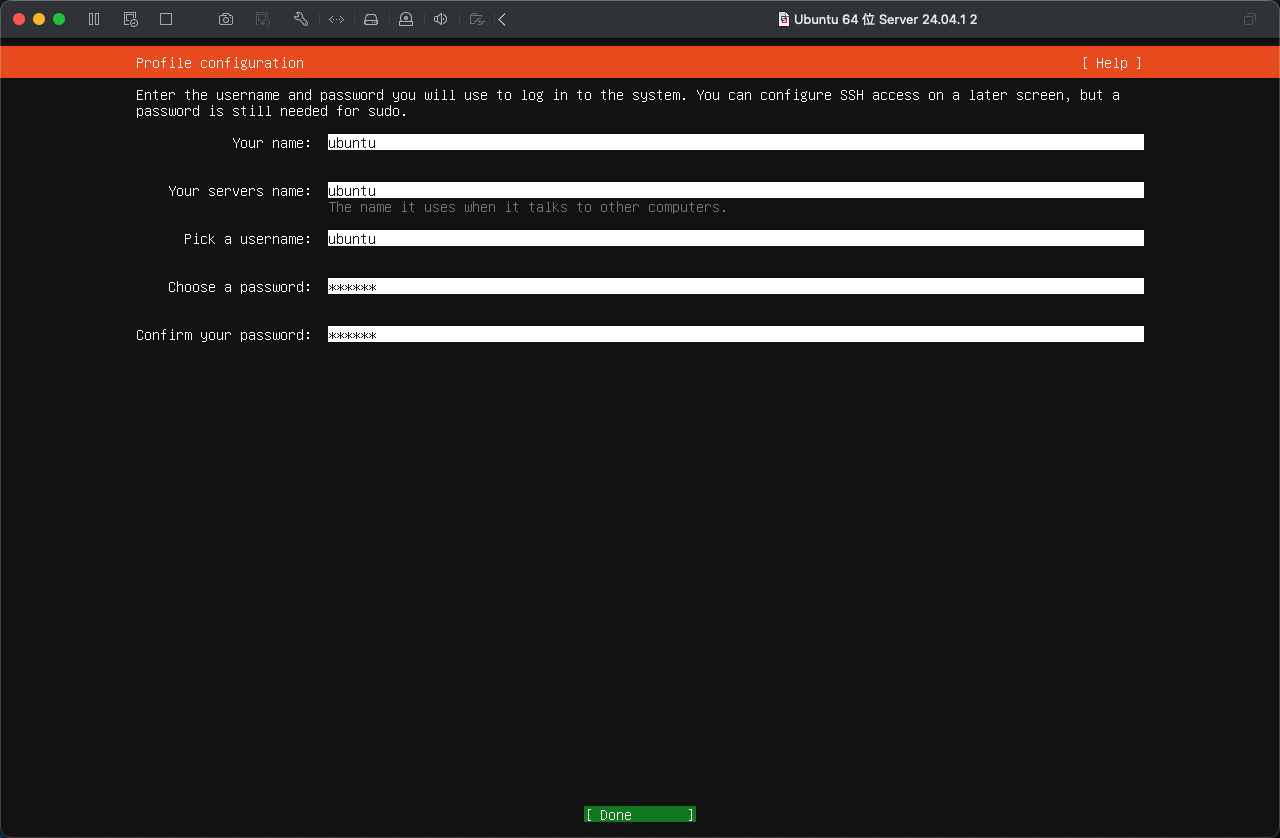
- name: 名字
- servers name: 服务器名
- username:用户名
- password:用户密码
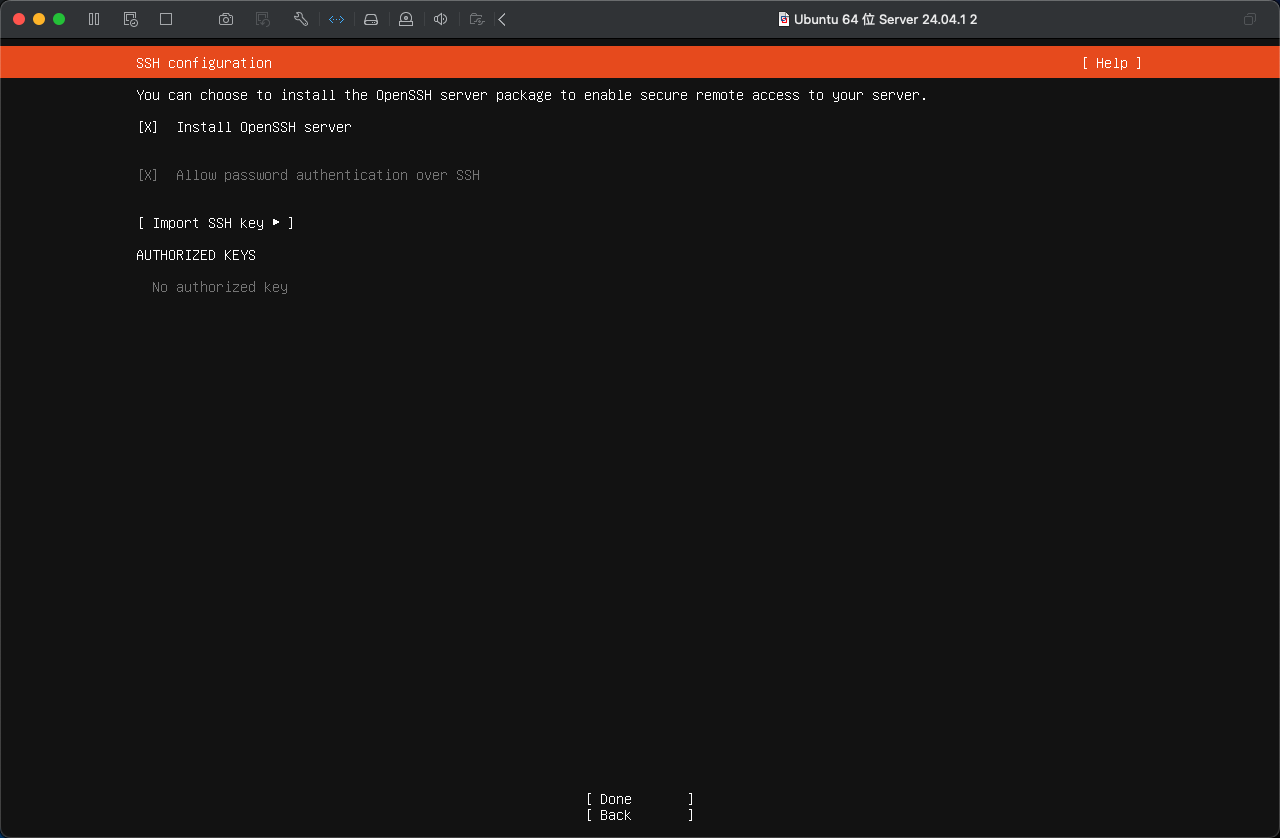
按空格键选上Install OpenSSH server
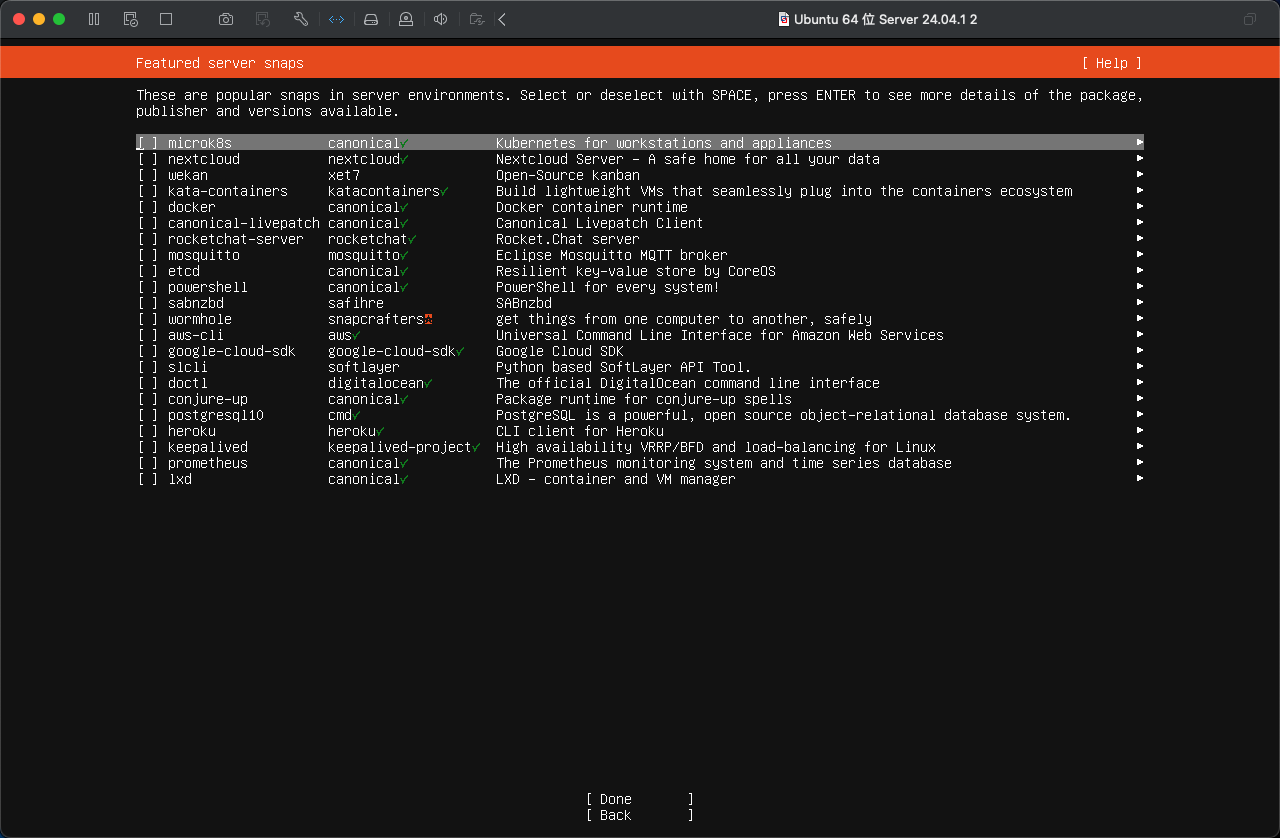
直接下一步就好了,后续想装什么软件再自己安装吧
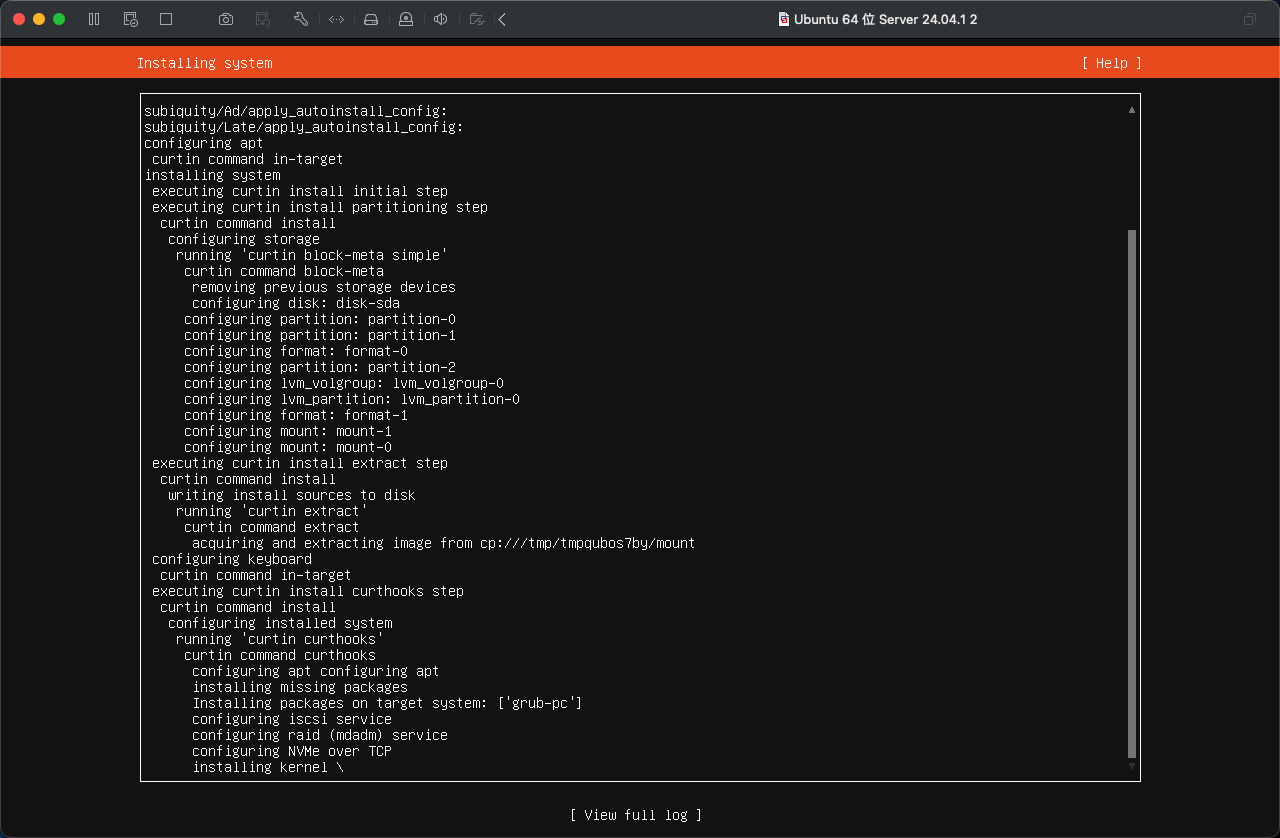
接下来就是等....等....再等等
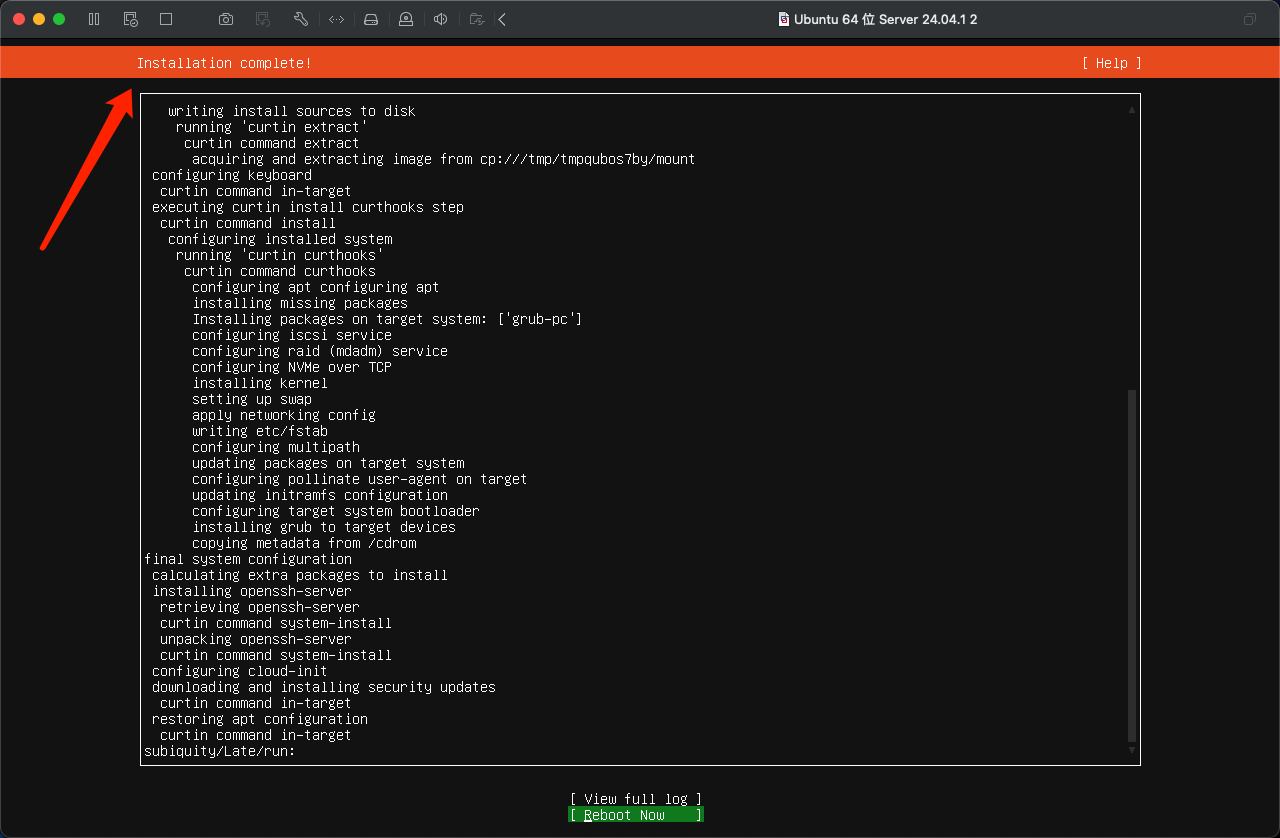
好了,看到下面的情况,那么恭喜你了。安装完成,没有遇到挫折。选择Reboot Now重启就好了
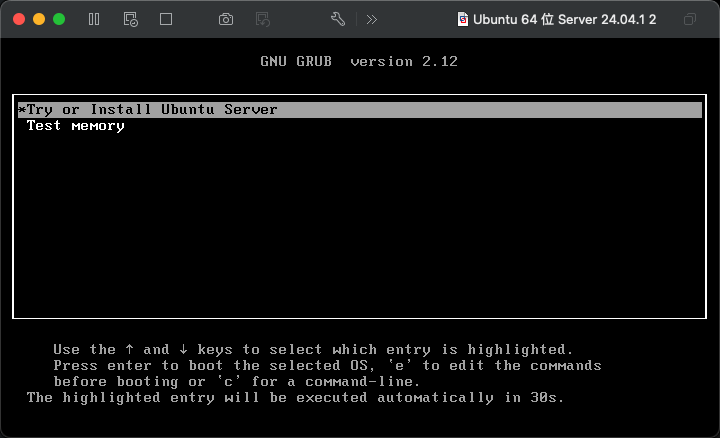
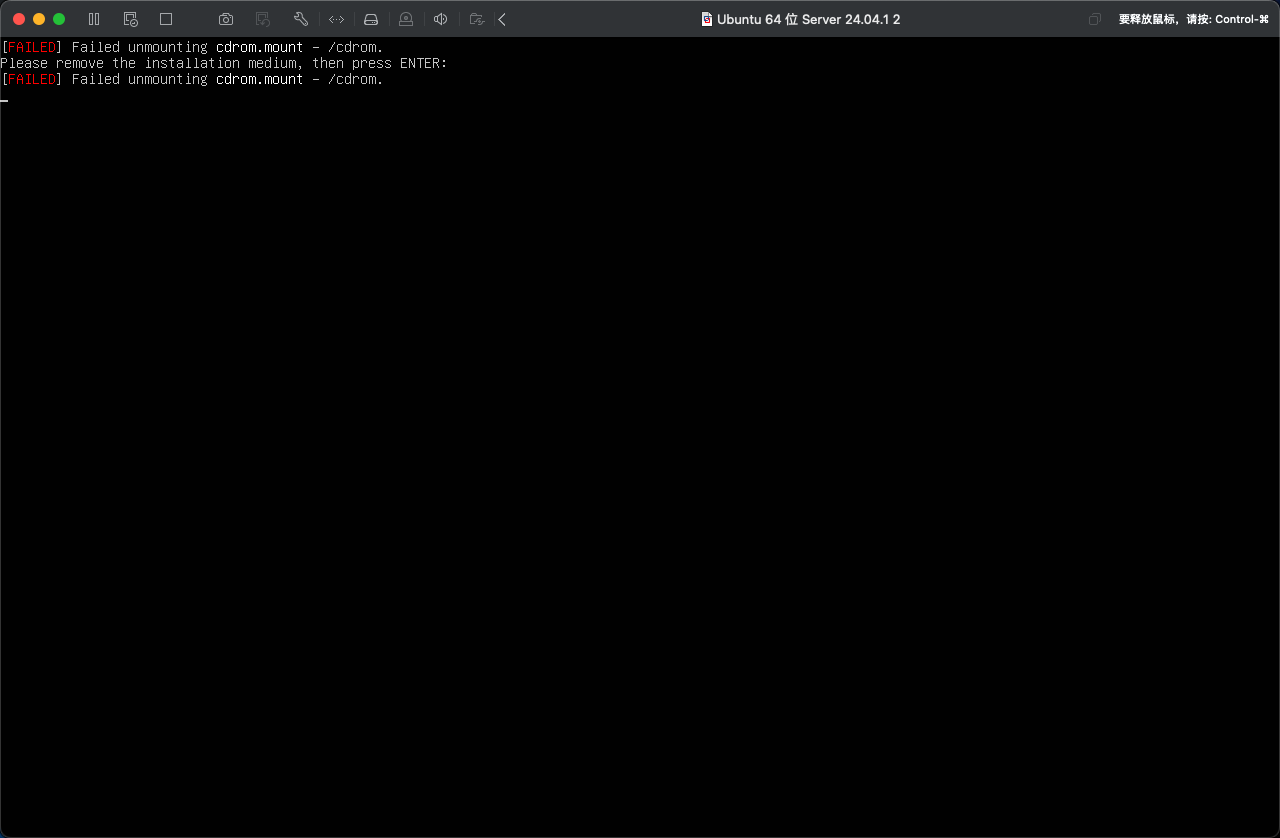
别怕,不是挫折,只不过默认启动还是CD驱动器,,直接按确认键重启就好了
修改动态IP为固定IP
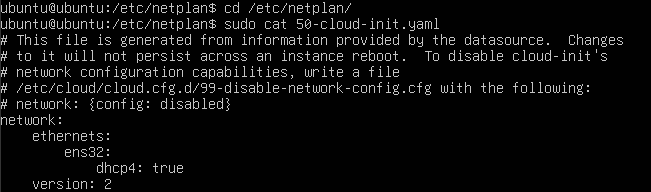
到/etc/netplan目录修改50-cloud-init.yaml文件,默认的动态IP内容如下
# This file is generated from information provided by the datasource.  Changes
# to it will not persist across an instance reboot.  To disable cloud-init's
# network configuration capabilities, write a file
# /etc/cloud/cloud.cfg.d/99-disable-network-config.cfg with the following:
# network: {config: disabled}
network:
    ethernets:
        ens33:
            dhcp4: true
    version: 2
记得用sudo或root用户将文档改成以下
# This file is generated from information provided by the datasource.  Changes
# to it will not persist across an instance reboot.  To disable cloud-init's
# network configuration capabilities, write a file
# /etc/cloud/cloud.cfg.d/99-disable-network-config.cfg with the following:
# network: {config: disabled}
network:
    ethernets:
        ens33:
            addresses:
            - 192.168.88.203/24
            nameservers:
                addresses:
                - 223.5.5.5
                search: []
            routes:
            -   to: default
                via: 192.168.88.1
    version: 2
执行sudo reboot重启服务器就好了
配置ssh免密登录
前提:本地已经创建好ssh key了
如果没有直接ssh-keygen去生成, 就不多说了,不懂可以搜一下其他文章
➜ ~ ssh-keygen
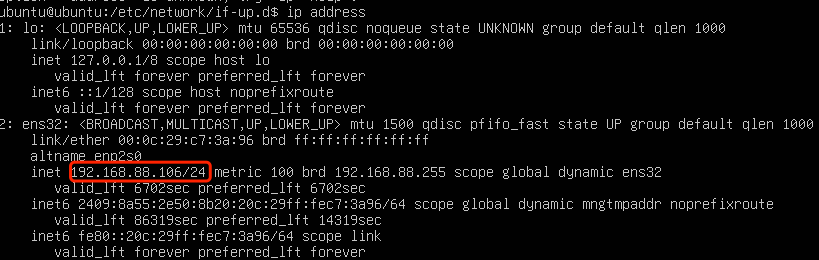
使用ip address命令获取服务器ip
使用ssh-copy-id [email protected]命令,输入密码就搞定了
➜  ~ ssh-copy-id [email protected]
/usr/bin/ssh-copy-id: INFO: Source of key(s) to be installed: "/Users/chiachan/.ssh/id_rsa.pub"
The authenticity of host '192.168.88.106 (192.168.88.106)' can't be established.
ED25519 key fingerprint is SHA256:Gl6xceEOAFyGv7jQ19WpX2Bdumleq9CdlolALxJoi24.
This key is not known by any other names.
Are you sure you want to continue connecting (yes/no/[fingerprint])? yes
/usr/bin/ssh-copy-id: INFO: attempting to log in with the new key(s), to filter out any that are already installed
/usr/bin/ssh-copy-id: INFO: 1 key(s) remain to be installed -- if you are prompted now it is to install the new [email protected]'s password:

Number of key(s) added:        1

Now try logging into the machine, with:   "ssh '[email protected]'"
and check to make sure that only the key(s) you wanted were added.